In today's tutorial, we'll be working with Eclipse to create and configure a new Java project.
First start up Eclipse and supply a path to a new folder which will serve as your workspace.
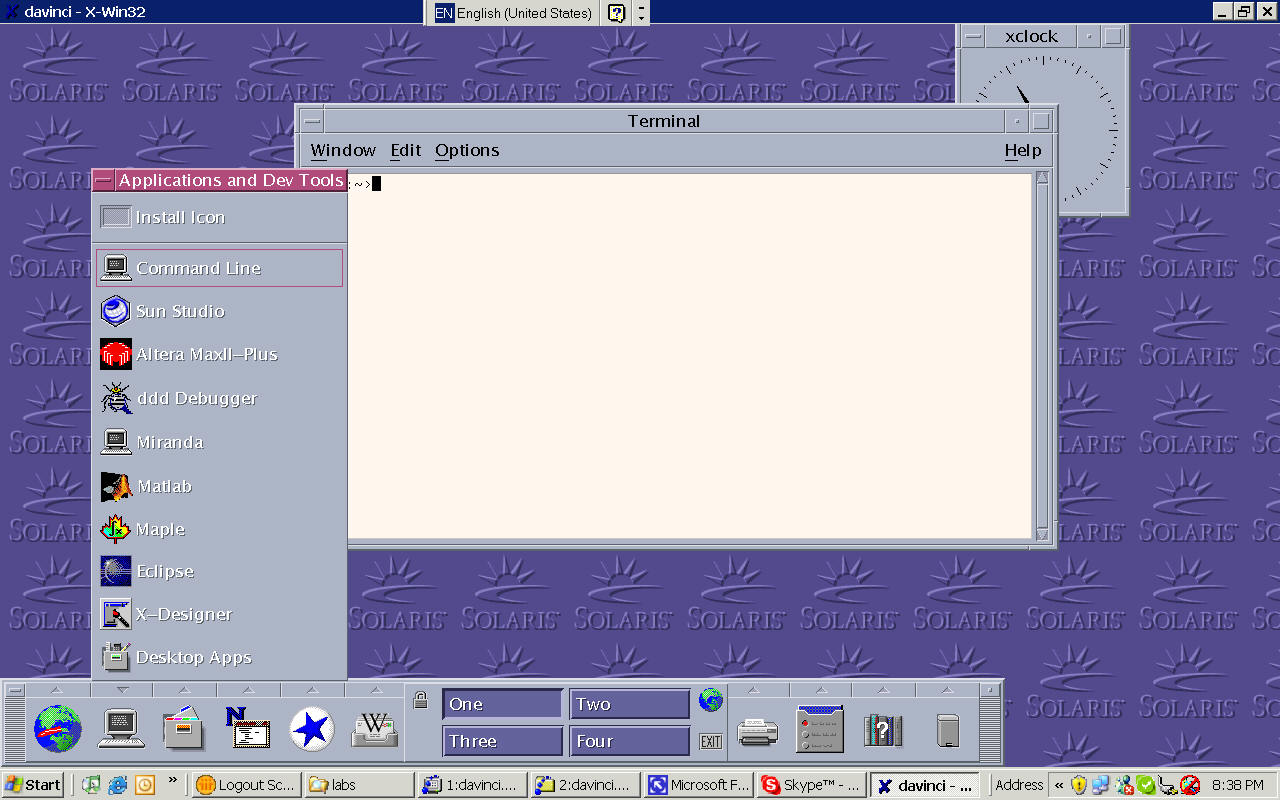
a) login to "sol.cs.uwindsor.ca". Your screen should look like:

Click on "Eclipse" icon to start Eclipse.
You probably will be asked where is your workspace folder.
The workspace is a folder which Eclipse uses to store your source code.
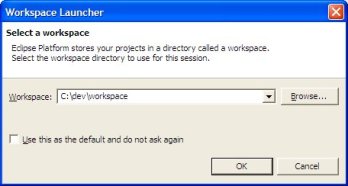
Avoid checking the "Use this as the default..." box, which will always start up
Eclipse with the same workspace. You'll probably find it useful to be able to
switch between different workspaces on startup.
When Eclipse starts, you'll see the Welcome page:
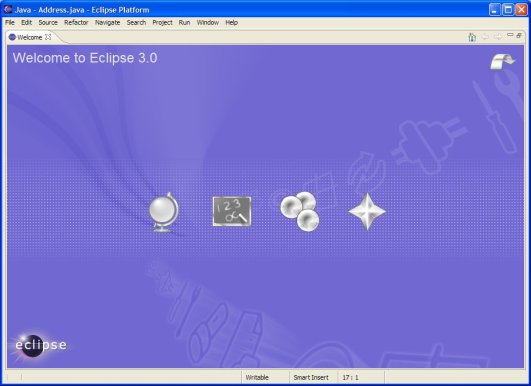
Note that you can access Eclipse help at any time via Help->Help Contents. This
is the same as the help on
the eclipse.org website.
1. Click on the second icon "Tutorials".
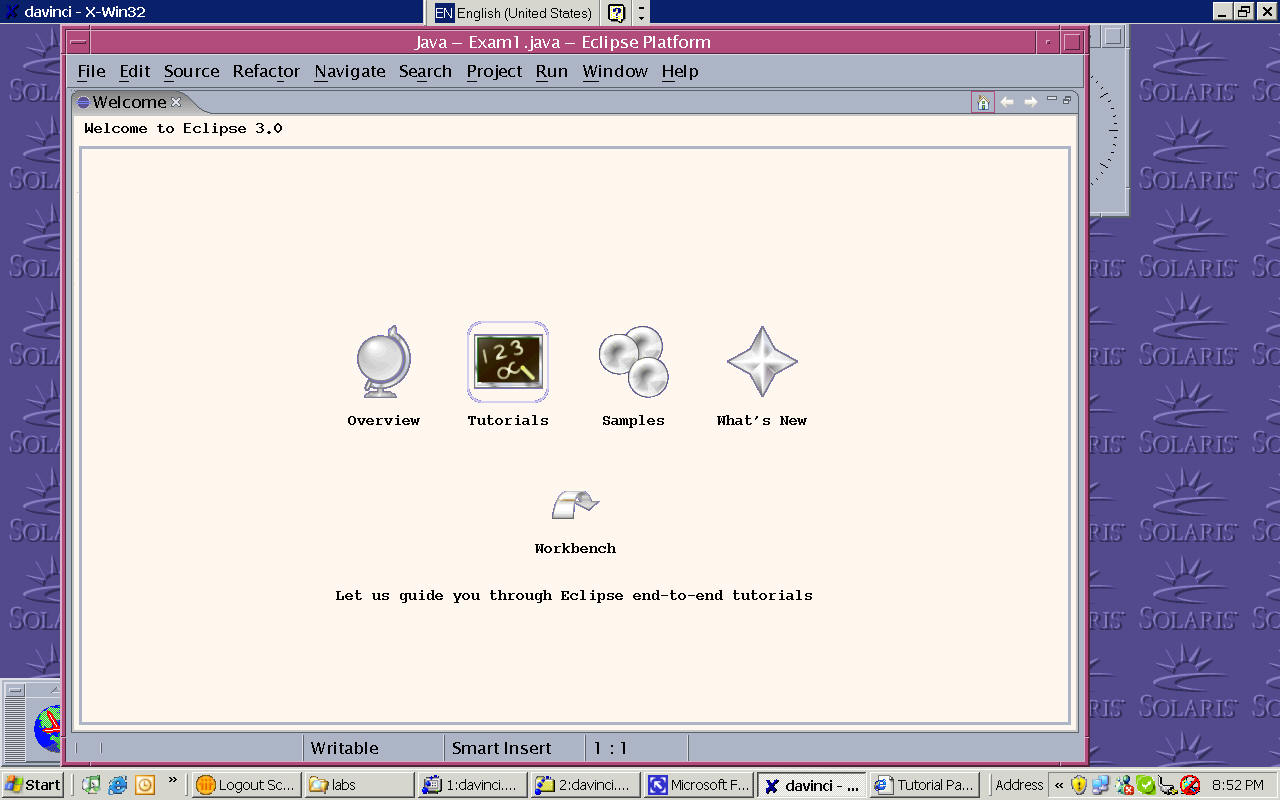
Your screen now looks like:
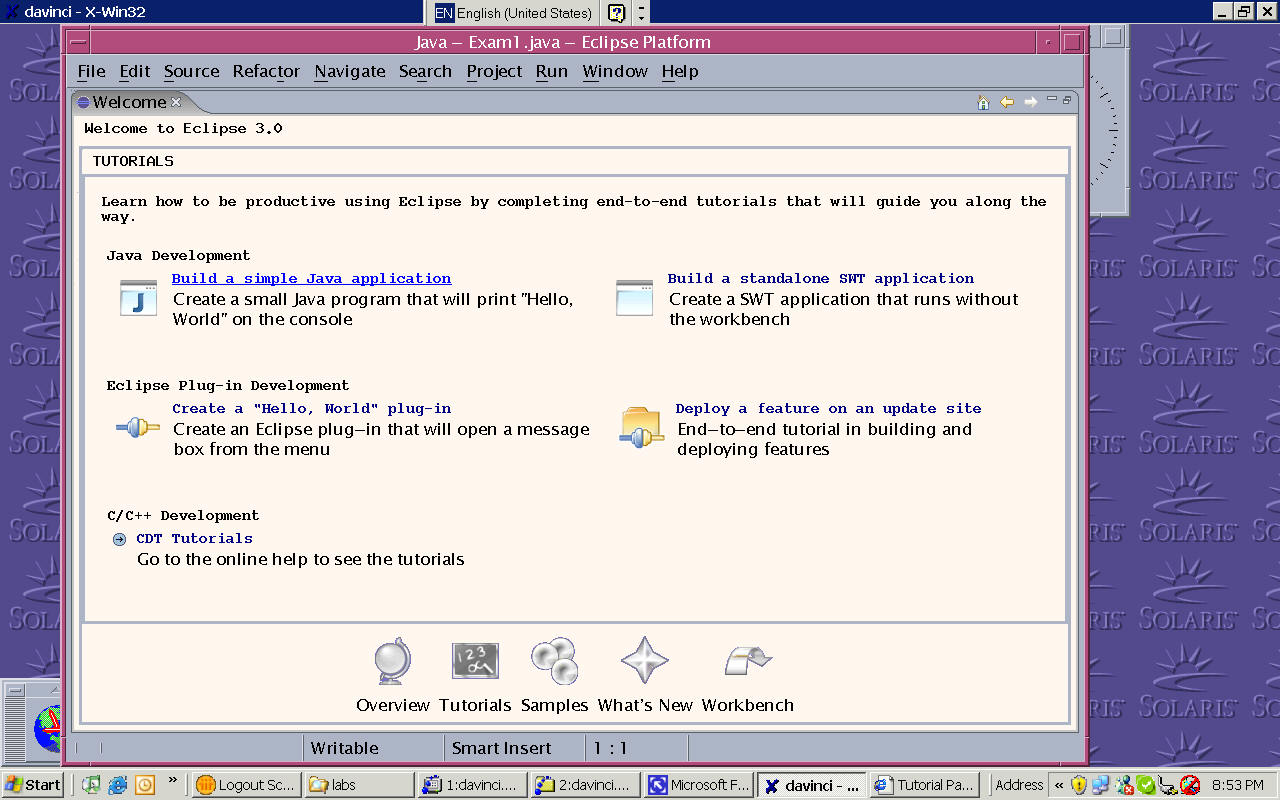
3. Click on "Build a simple Java application" and follows the instructions on that page.
More tutorials
1. http://www.cs.umd.edu/class/fall2004/cmsc131/EclipseTutorial/project.html
2. http://www.cs.umd.edu/class/fall2005/cmsc132/EclipseTutorial/
3. http://www.skidmore.edu/academics/mcs/java/pages/tutorials/quick_Tutorial.htm
4. http://www.ccnyddm.com/221Spring2005/eclipse_tutorial_release_09.htm